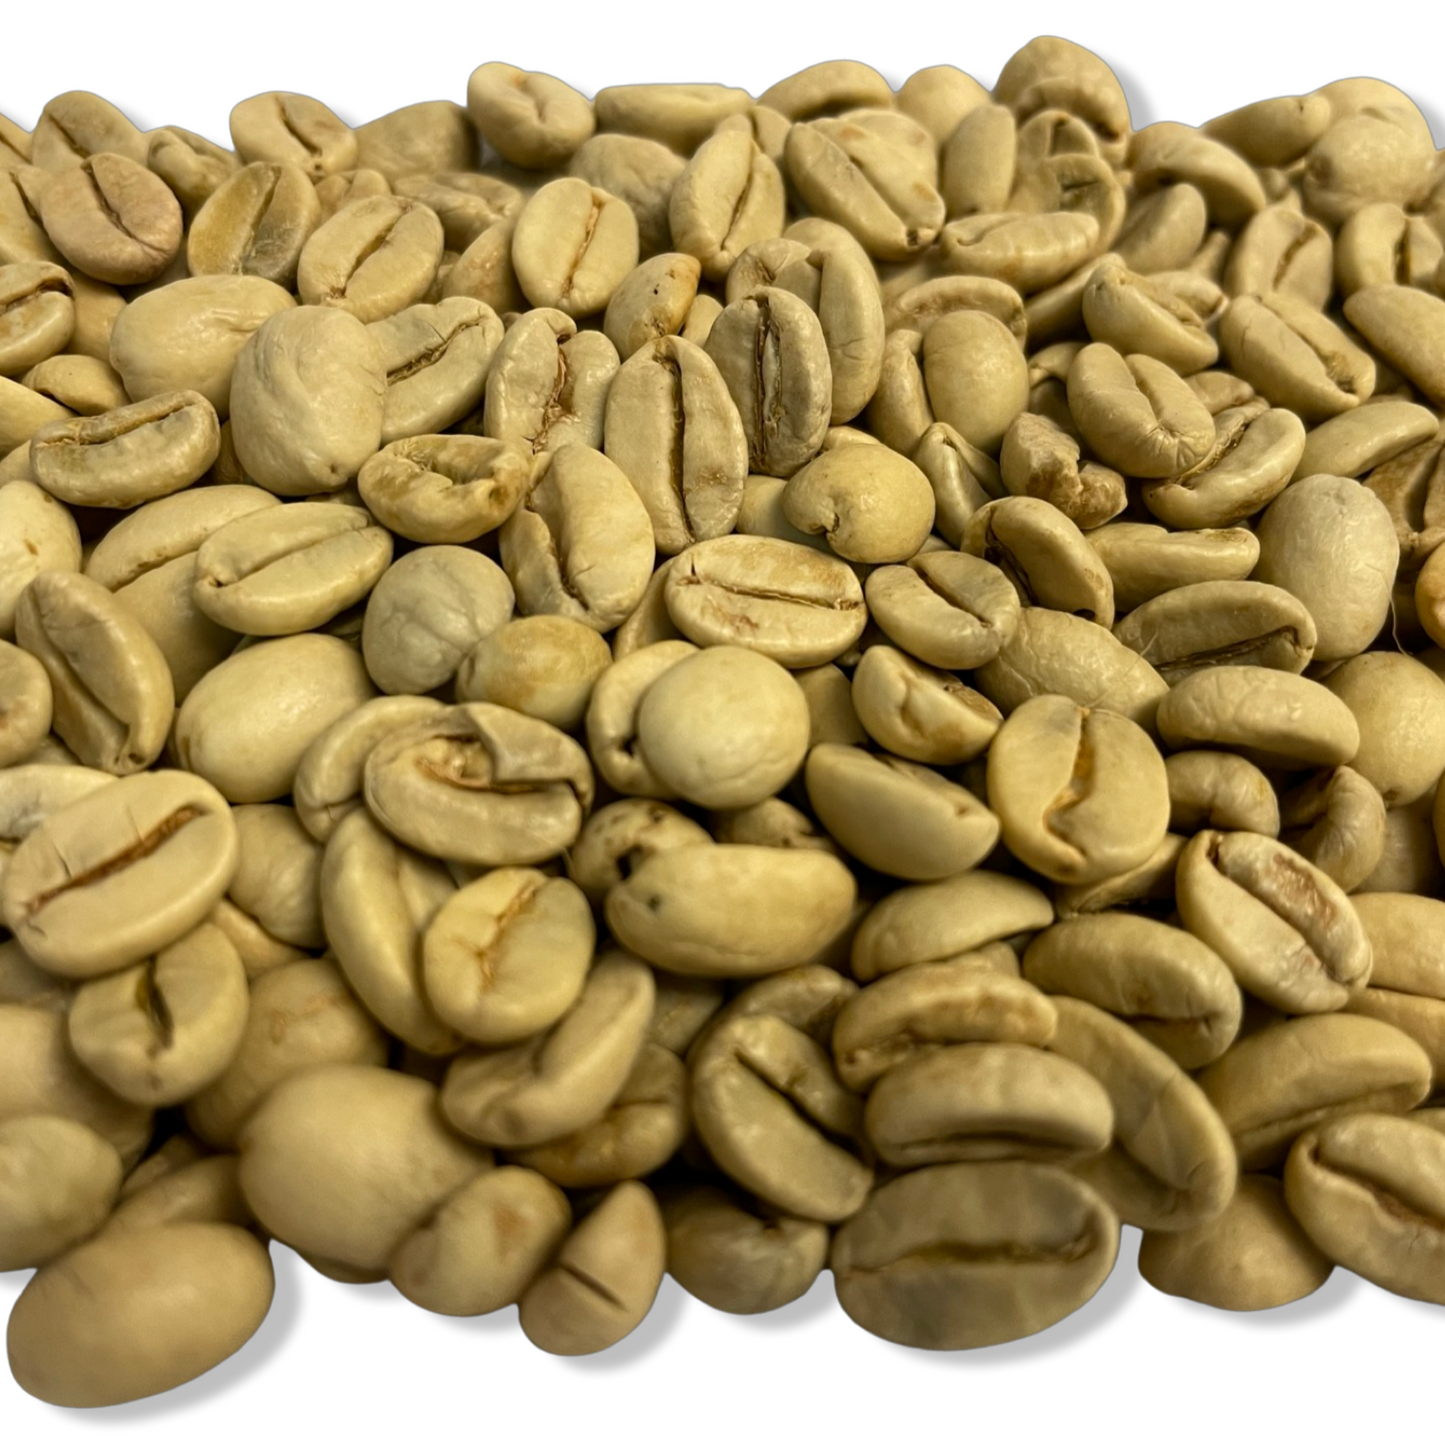
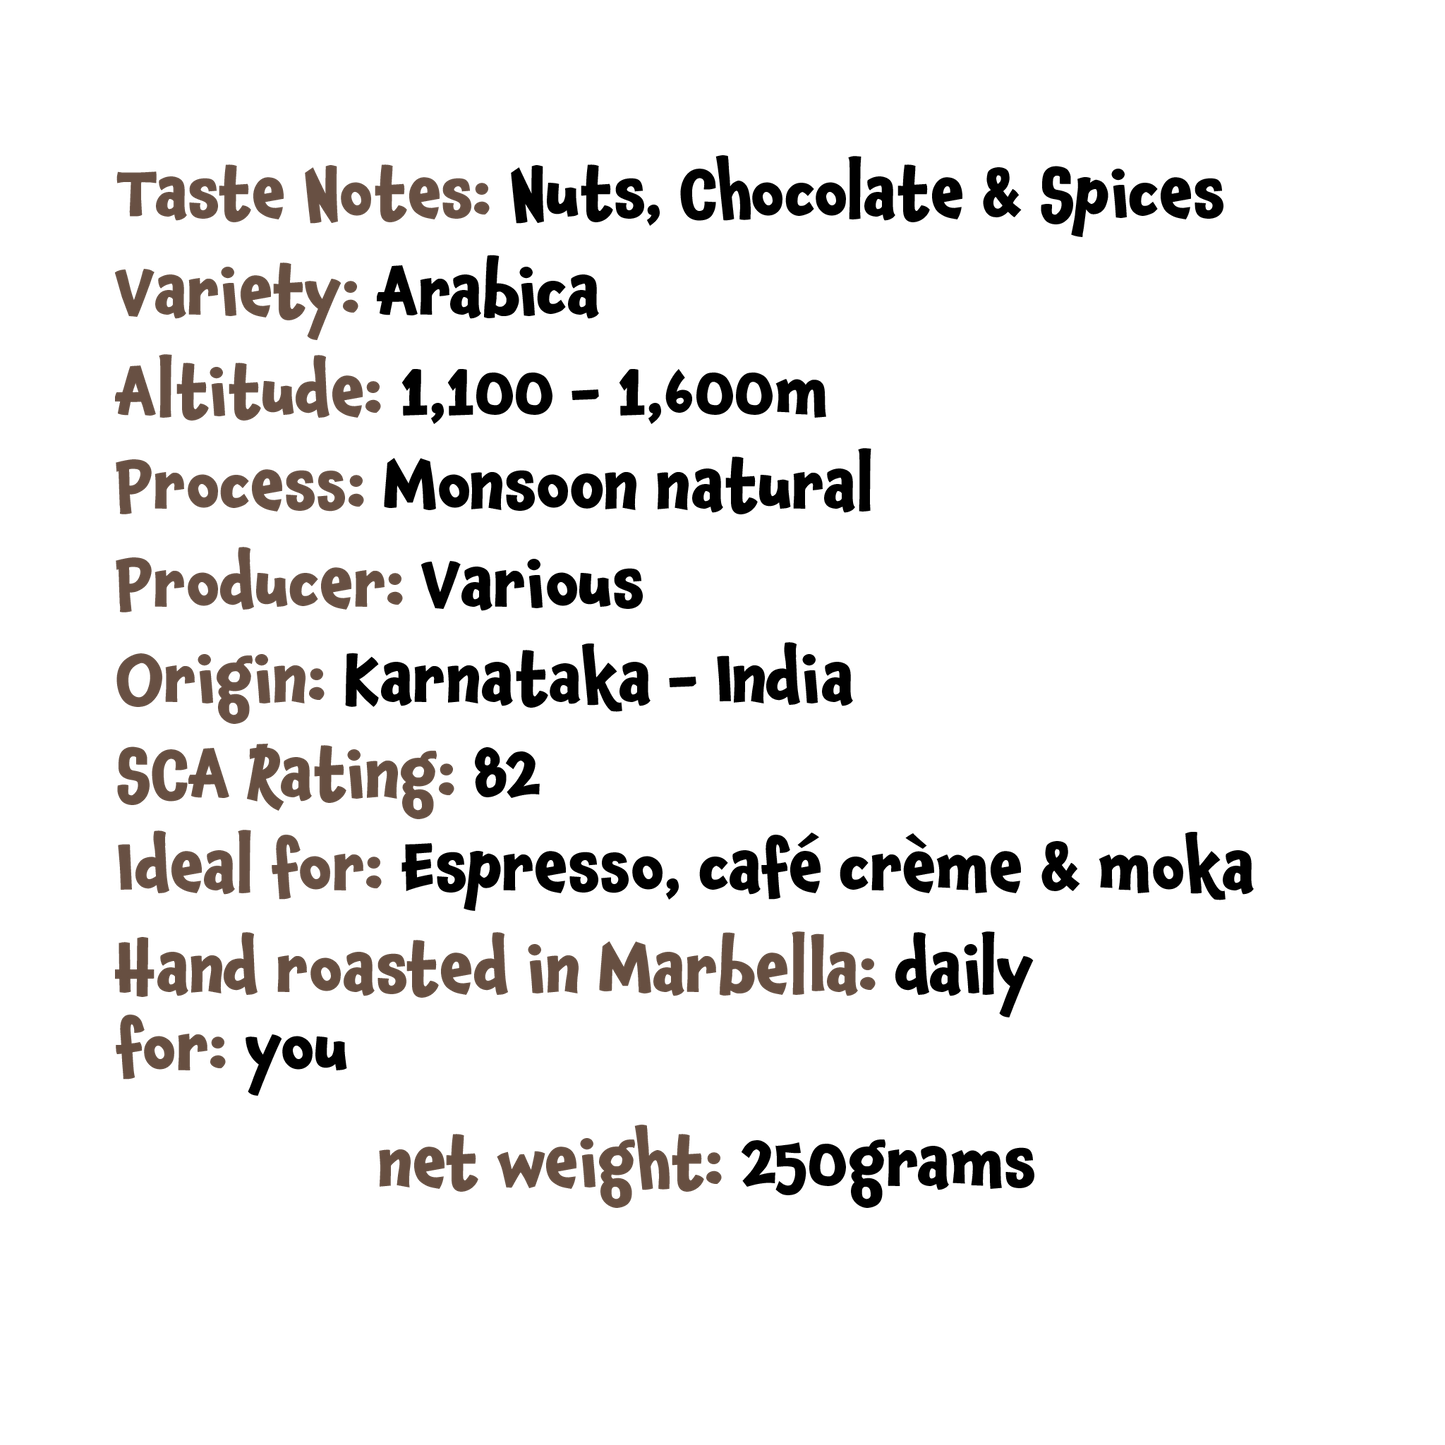
Indian Monsoon Malabar
The Origin of our Monsoon Malabar

The basis for our Monsoon Malabar beans originate from Indian Cherry AA beans from Karnataka in the Chikmagalur District, which is one of the most traditional regions in India for coffee.
Back in 1840, when the British established coffee plantations all over southern India, the tropical climate, high altitude, sunny slopes, abundant rainfall and humos-rich soils in the region are ideal for the cultivation of coffee.

Coffee was brought from India to Europe in wooden sailing ships back then, which took six months to sail around the Cape of Good Hope. During this journey, the coffee which was stored below the waterline absorbed moisture that penetrated through the wood and when it arrived in Europe the coffee was no longer green, but a golden yellow, large and almost fruit-like and almost free of fruit acid.
Since then, the same effect has been replicated using the so-called monsooning process, which is achieved by laying out naturally processed coffee beans in brick or concrete warehouses, through which damp wind from the Arabian sea is drawn during the monsoon months of June to September.
Serving recipes for our Indian Monsoon Malabar
Espresso
1. 18grams of finely ground and tamper consistently into your portafilter.
2. Extract 30grams (ml) of coffee between 25 and 30 seconds.
3. If 30g of coffee extracts quicker than 25 seconds then you need to adjust your grind finer.
4. If 30g of coffee extracts longer than 30 seconds then you need to adjust your grind more coarse until you reach the above criteria.
Note: it usually takes pulling 3 shots to perfect this adjustment when entering a new bean into your grinder
* This doesn’t necessarily apply to automatic coffee machines with built-in grinders as they’ll generally give an estimation of all the above*

Moka or Bialetti
1. Fill the base of your Bialetti with off the boil water just below the level of the pressure safety valve (not submerging).
2. Finely grind your beans just like the espresso recipe above or use straight out of our bag if you’ve received them ground by us.
3. Insert the ground coffee into the funnel up to the top and level off with your finger without applying any pressure.
4. Place the funnel into the valve and screw the top on firmly to seal the Mokka pot.
5. Place onto your heat source (gas stove/electric hob etc.) with 70% heat and keep an eye on its progress. We don’t want the pot to boil too quickly otherwise the coffee will extract too fast.
6. Once you start to see the coffee extract out of the chimney of the pot, then reduce the heat setting and lift the pot up off the heat to consistently control the smooth flow of the coffee extraction.
7. If it slows then place the pot back on the heat and vice versa until the pot is nearly full or starts to make a noise.

Cafitière or French Press
1. Boil your water and leave it to rest for 1 minute whilst you weigh your coffee, to ensure you do not burn your coffee whilst you pour the water over.
2. Add 18 grams of medium-coarse ground coffee (2 heaped tablespoons) per 260ml of water.
3. Pour 20ml and stir.
4. Pour 40ml more immediately after stirring and wait 30 seconds.
5. Set a timer for 2 minutes.
6. Pour the rest of the water.
7. After two minutes, press down the plunger.
8. Serve immediately.
Aero press
1. 12 grams of ultra-fine ground coffee like espresso grind.
2. Boiling water and pouring into the Aeropress quickly in its upright position.
3. Insert eh plunger and pull it back slightly to create a vacuum, so that the coffee does not drip prematurely.
4. After 2 minutes shake the Aeropress slightly back and forth, which will break the crust, similar to when cupping.
5. around 2 minutes and 30 seconds press down slowly, all the way through the hiss.
KOFFICLUB

